Many people are familiar with the fundamentals of painting prep. They understand the need of using drop sheets, painters’ tapes, and properly stirring paint. But did you know that using a golf ball to preserve paint freshness or reheating paint tape to make it more workable can help?
Knowing a few more painting techniques will help you achieve the best results with many of these DIY painting tasks. You can avoid imperfections and cover surfaces uniformly by properly storing paints and then using the right tools.
Even if you’re ready to sell, altering your decor, or performing basic home maintenance, these key DIY painting ideas will help you enhance the quality of your work while saving money and time.
Make sure your paint doesn’t dry out
Paint from a half-empty can will wear out. To replace the air vacuum in the painting can, drop golf balls in it or insert plastic wrap beneath the lid, carefully seal it, and keep the paints upside down.
Make use of the appropriate primer
Before adding colour to new plasterboard, use a water-based priming to cover defects and create an even base. Choose an oil-based primer whether you’re repainting panelled, water-damaged, or smoke-saturated surfaces.
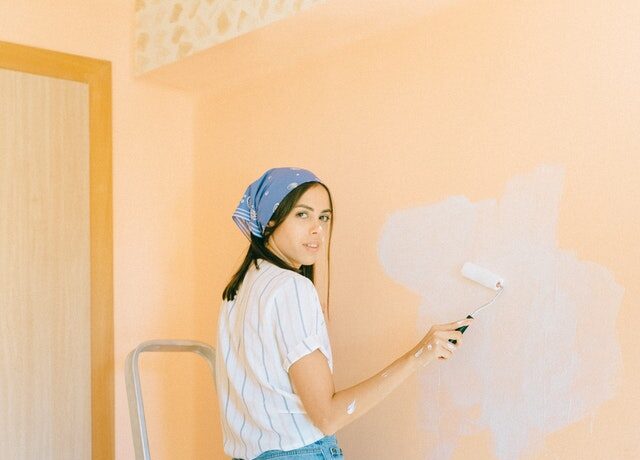
Lap marks should be avoided at all costs
Keep a wet border by applying the entire height of the walls and then shifting over slightly to overlay the very last strokes with the next to prevent stripes formed by brushing over paint that was already started to dry.
A customized stirrer is used to stir the paint
Drill perforations in the stirrer before stirring the paint to let it blend more thoroughly. The holes allow the paint to run through the agitator, aerating it and evenly combining it like a whisking.
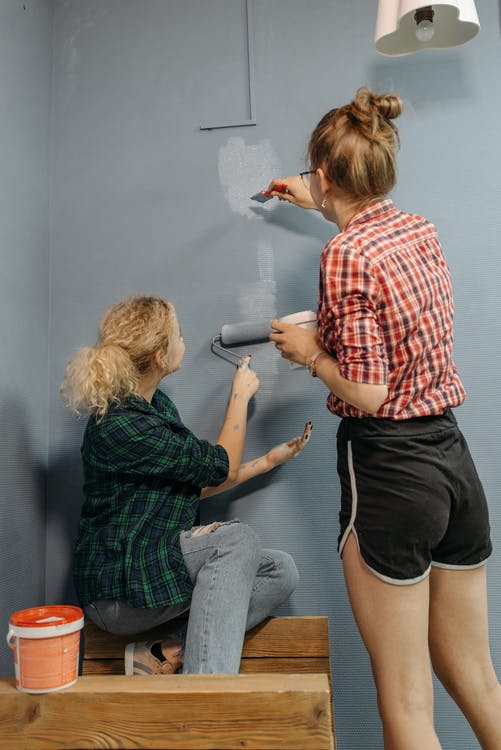
If desired, add texture
Choose one roller with a lengthier, 34″ nap, which retains more paint, if you really want more roughness on your wall. The napping is the fabric that covers the roller, but because of the way its fibres spread the paint, longer naps induce more subtle shading on your wall. For the finest finish, use a roller with a shorter nap (between 14 and 12 inches). You can also shop microfibre rollers at Two Fussy Blokes.
Brushes and rollers should not be washed
When you’re using latex paints, there’s no need to wash your rollers or brushes if your project won’t be completed in one day. Because latex paint does not dry rapidly in cold conditions, just wrap your brushes or rollers in plastic containers or tin foil and place them in the fridge. (Be careful to let them heat up completely and then use them.)
Determine the type of paint that is currently on the walls
Are you unsure whether the paint on a wall is oil or latex? Immerse a cotton ball in isopropyl alcohol and massage it on the surface in a tiny space. The painting is latex if there is paint residual on the cotton ball. Isn’t there any colour on the cotton swab? Because you’ll be coating over an oil-based pigment, you’ll need to use an oil-based primer first.


